P2,P3&P4

P2

Framing- The framing of an image is based on the subject placement of the image. The viewers focus is on the framed object and can be considered aesthetically pleasing. I had taken this photograph positioned through the frame of the window intentionally capturing the cars and the houses outside. The photograph was taken on a rainy day so the lighting wasn’t as good as it could’ve been if I had more natural light in the image.img-5478.jpg

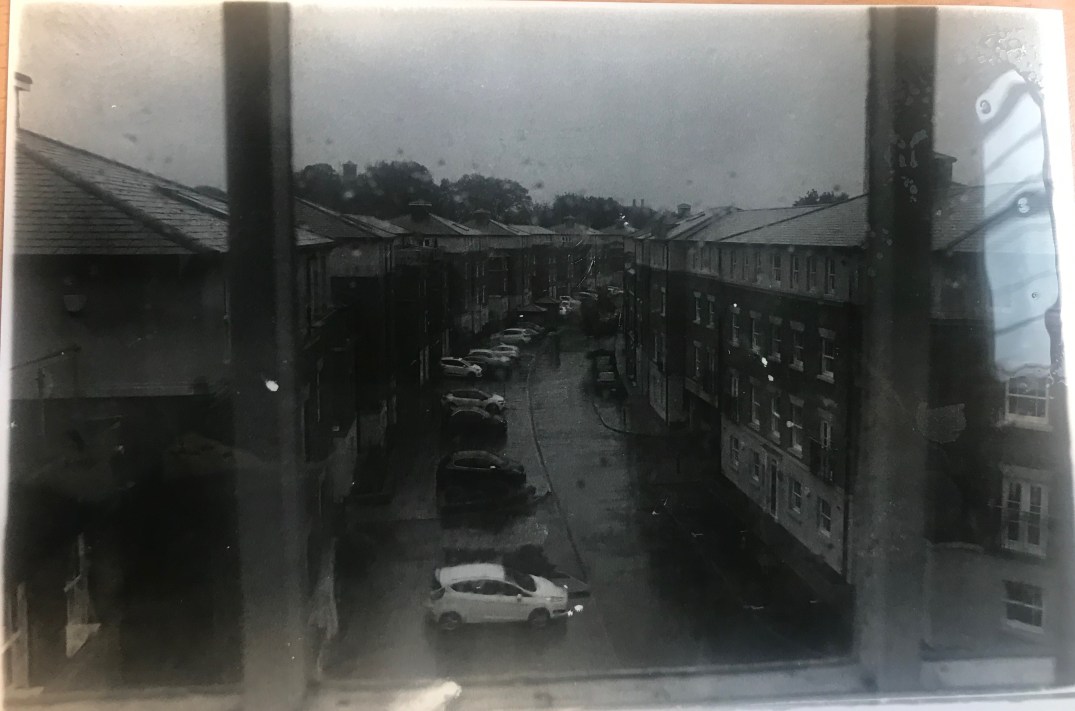
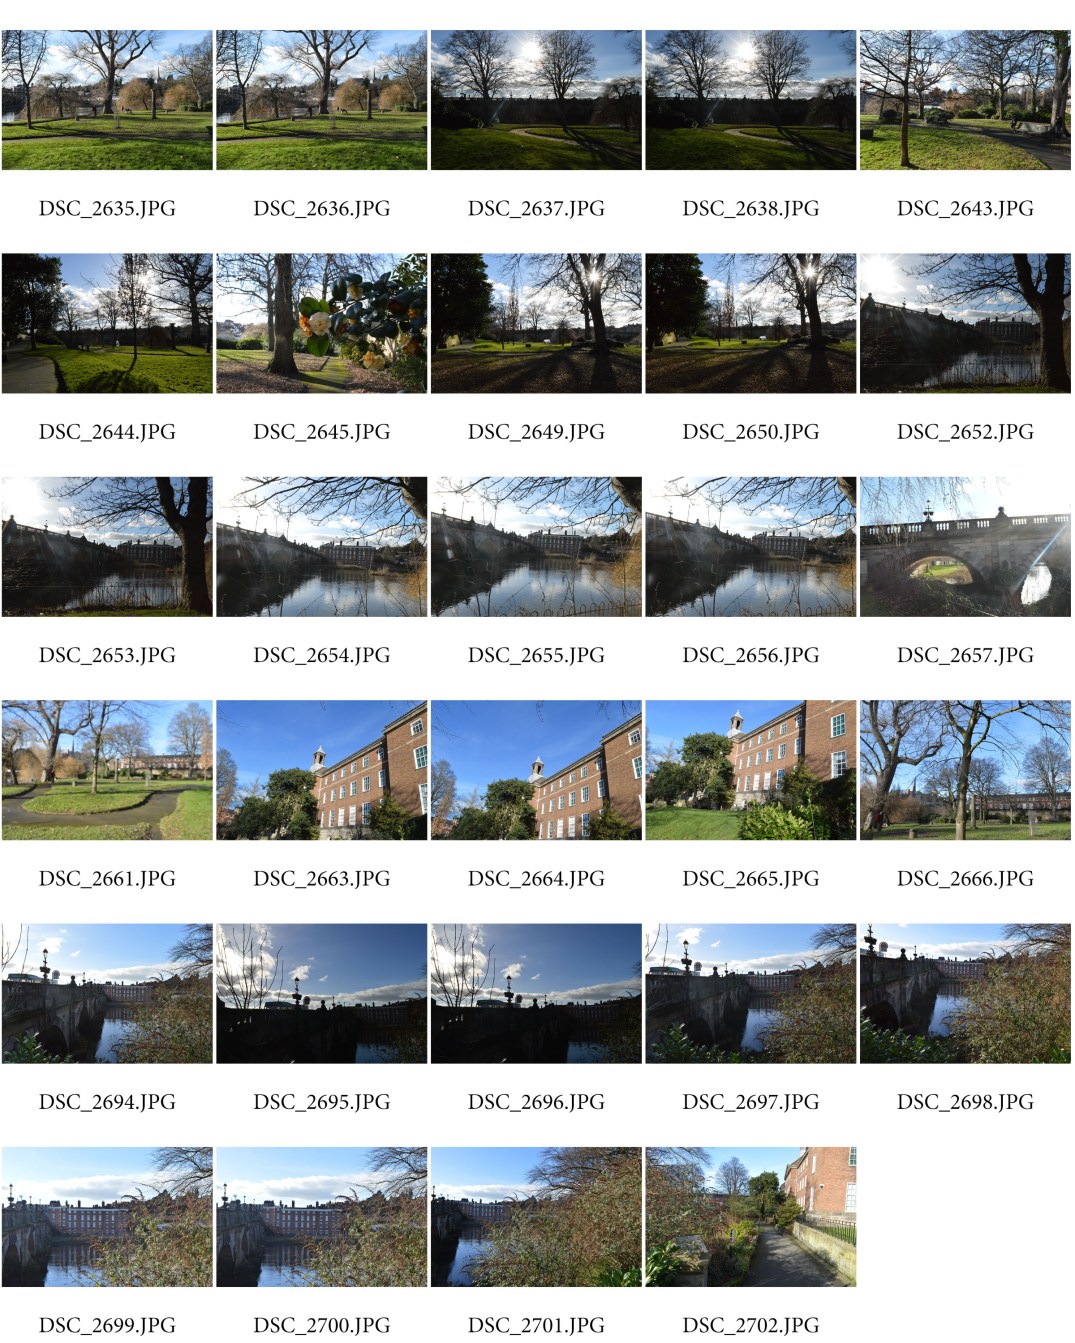
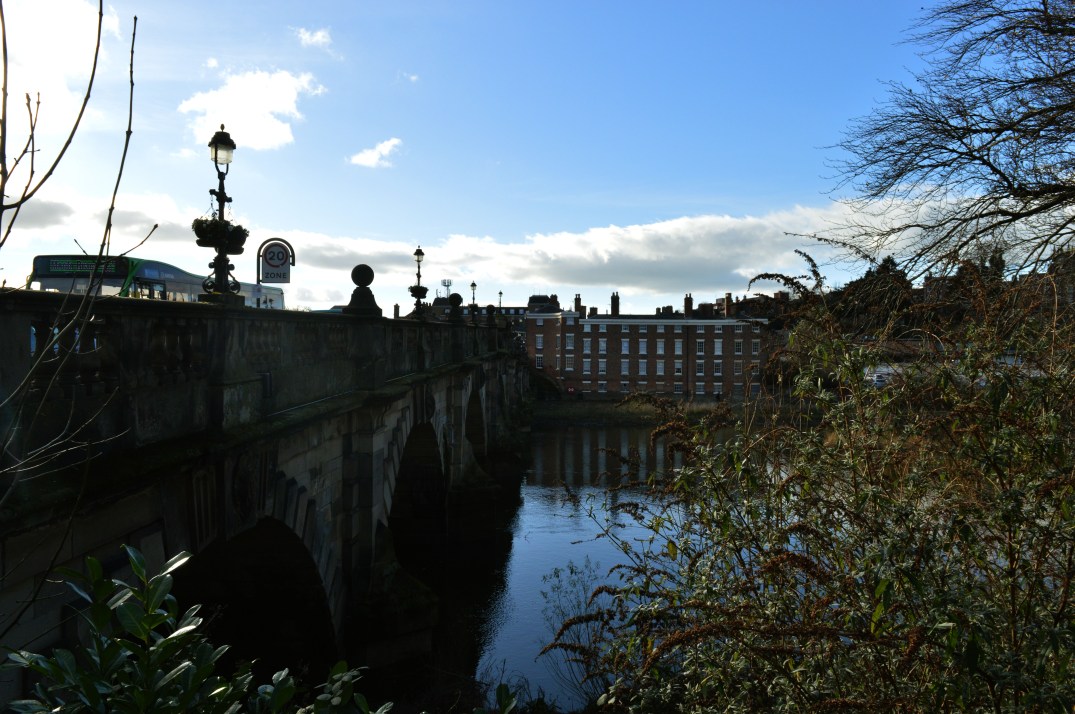
Composition- Composition is the arrangement and placement of an image. The example I have taken below intentionally shows the river, bridge and the tree to the left side of the image. I wanted to capture the whole scene and essence of the atmosphere within the image focusing closely on the composition of the image and what was in the frame of the image.

img-4637-e1559911853472.jpg

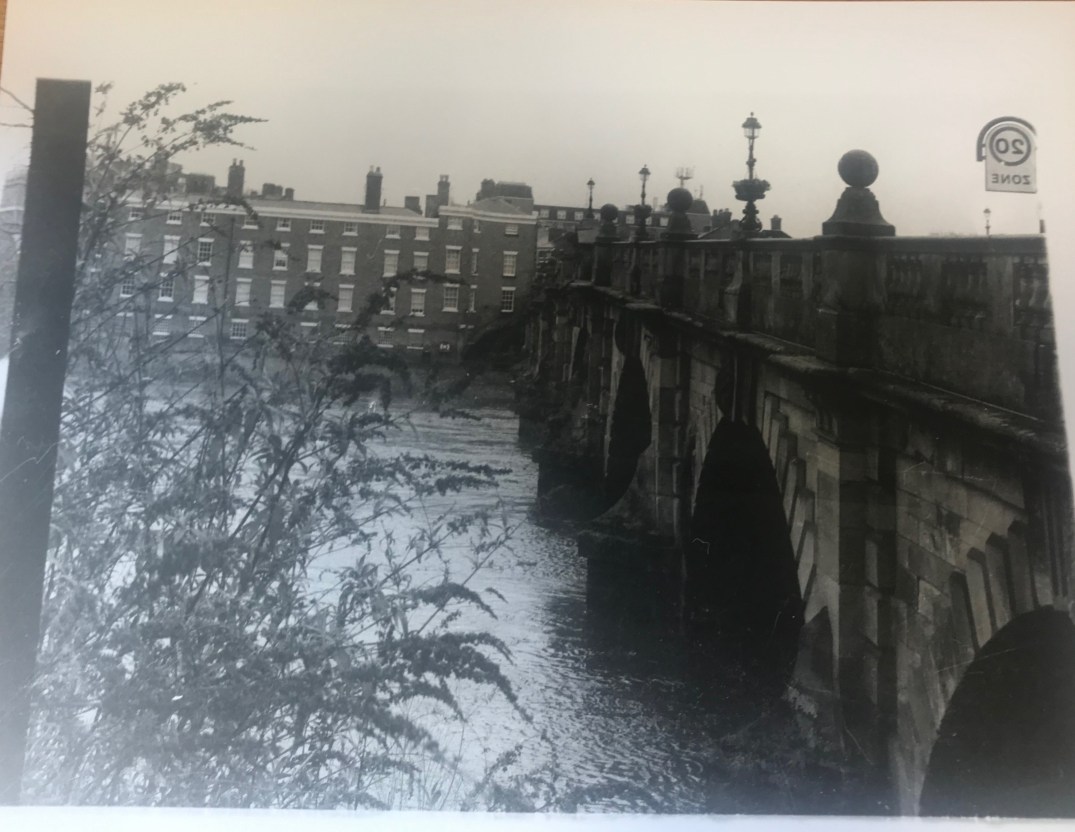
Rule of Thirds-  The rule of thirds is to do with the main central focus point of a photograph not being in the centre but more to one side. In my example below I have taken the image incorporating the idea of having the rule of thirds as arguably the bridge is the main central focus point of the image, not the river which is central of the photograph.              img-4636.jpg

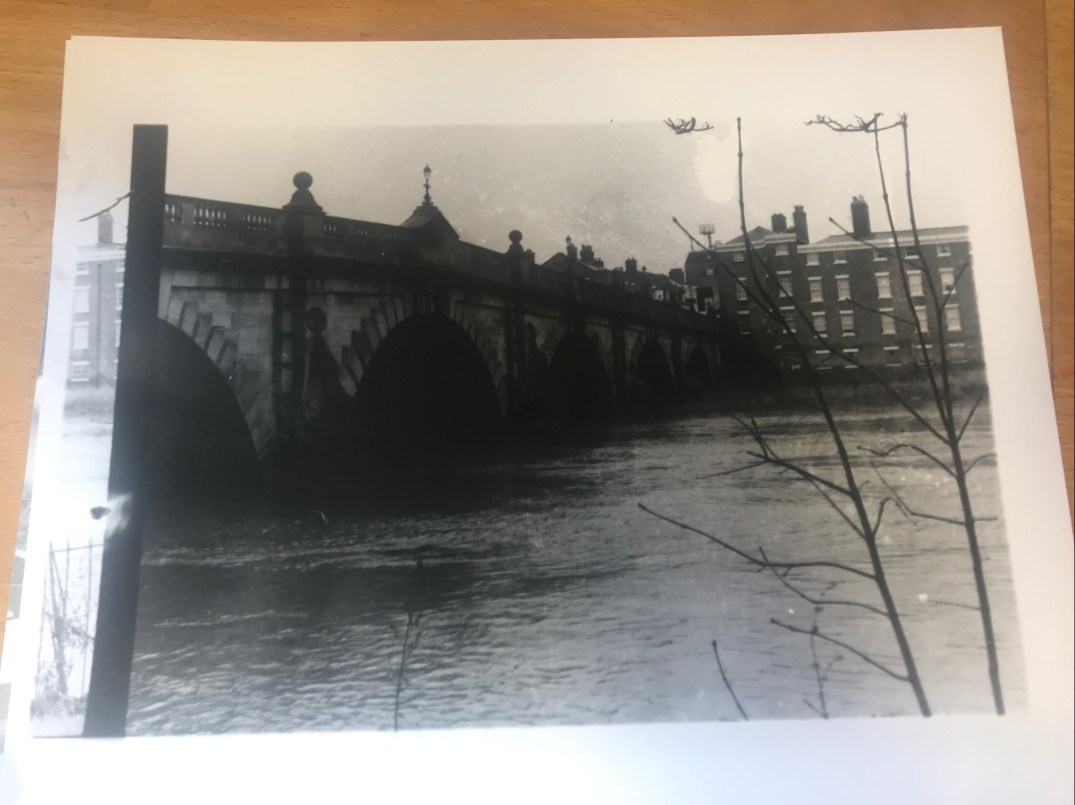
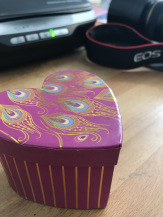
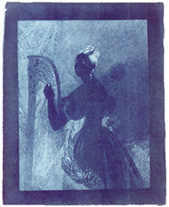
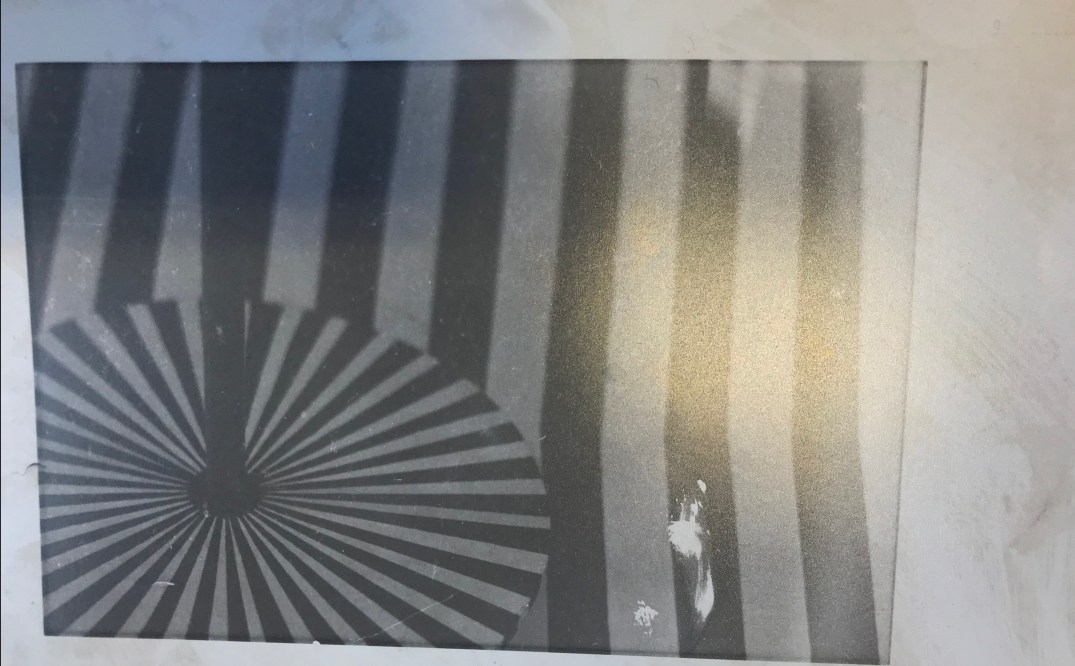
Subject Placement- Subject placement is to do with the focal point of the image, the subject could be an object, image or person. I chose to take a photograph of artwork which was framed on the wall. The subject placement of the image is very intriguing as the viewer may not realise what the image is of.

IMG-5456

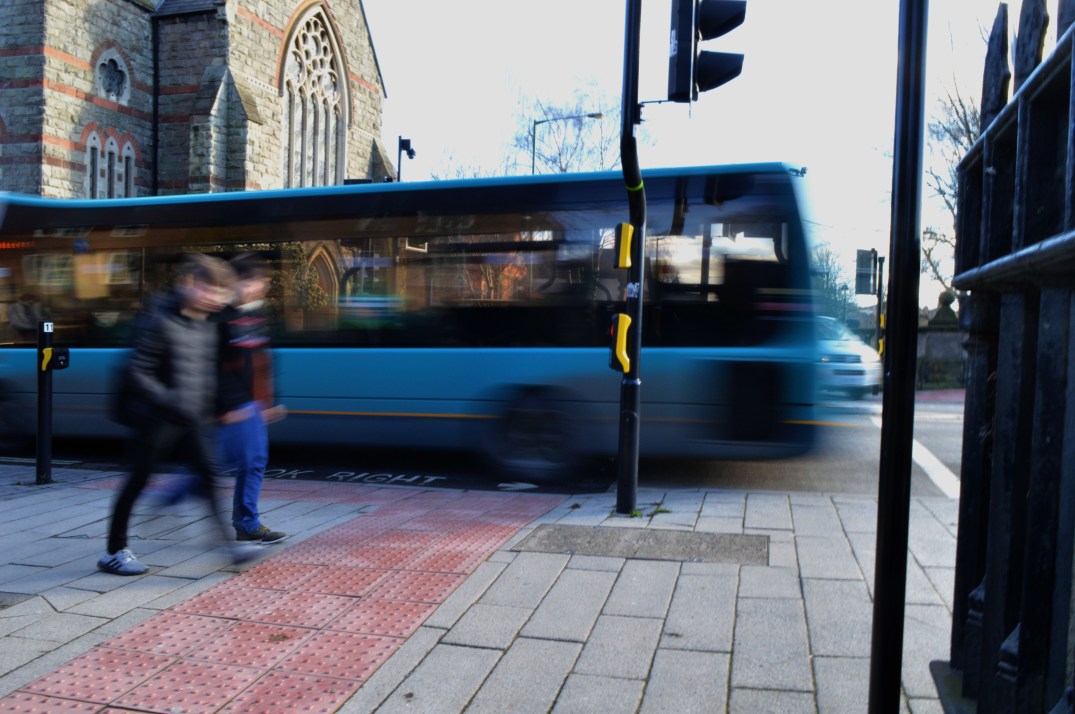
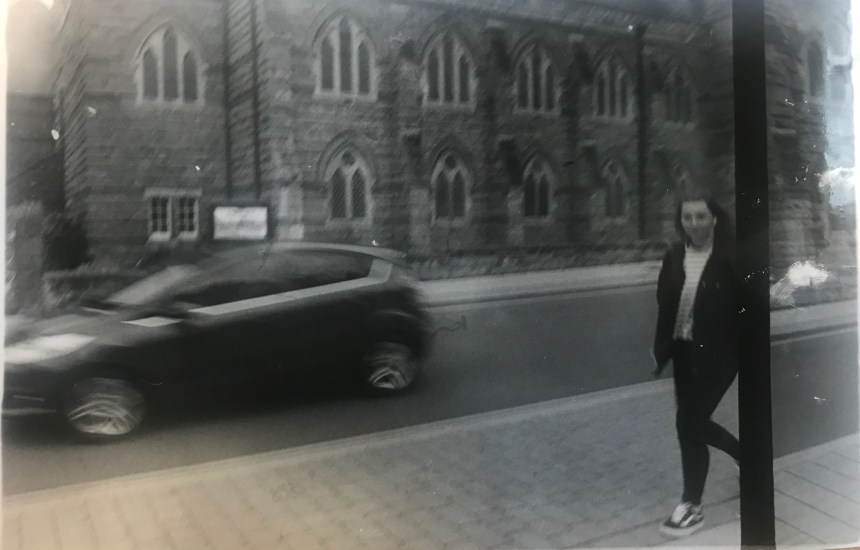
Vantage Point- The vantage point of an image is a position from which the photograph is taken. I decided to take an image off the church from a slightly turned angle intentionally to capture more detail from the sides of the church and the front.

img-4634.jpg

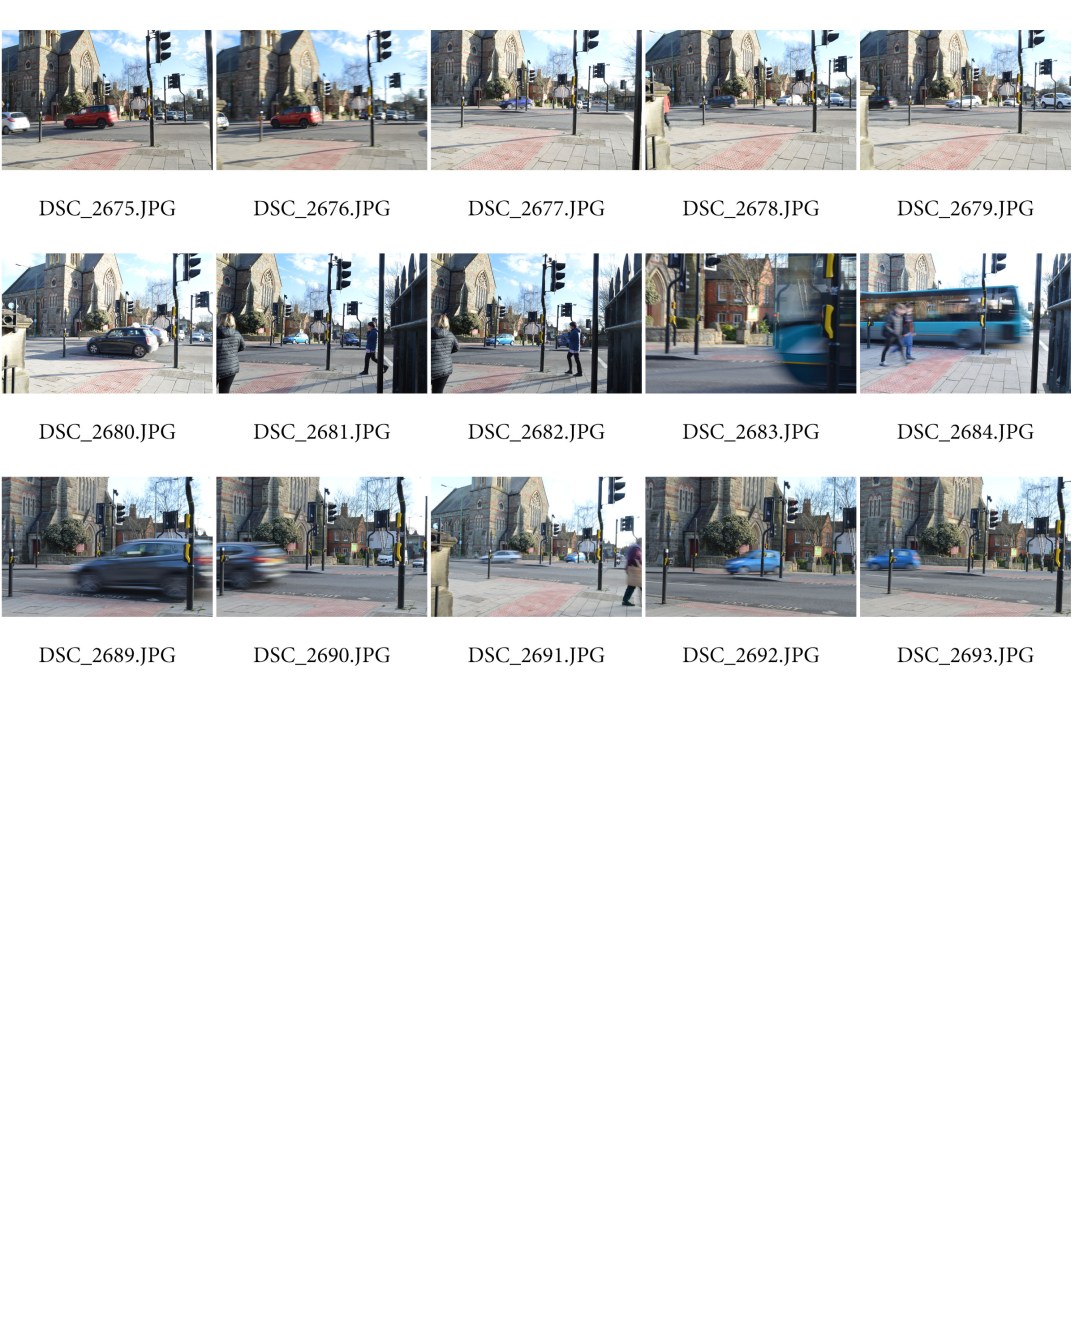
Motion- Intentionally with the film camera I wanted to capture the movement of a car. I turned down the shutter speed to enable the camera to capture

IMG-5477

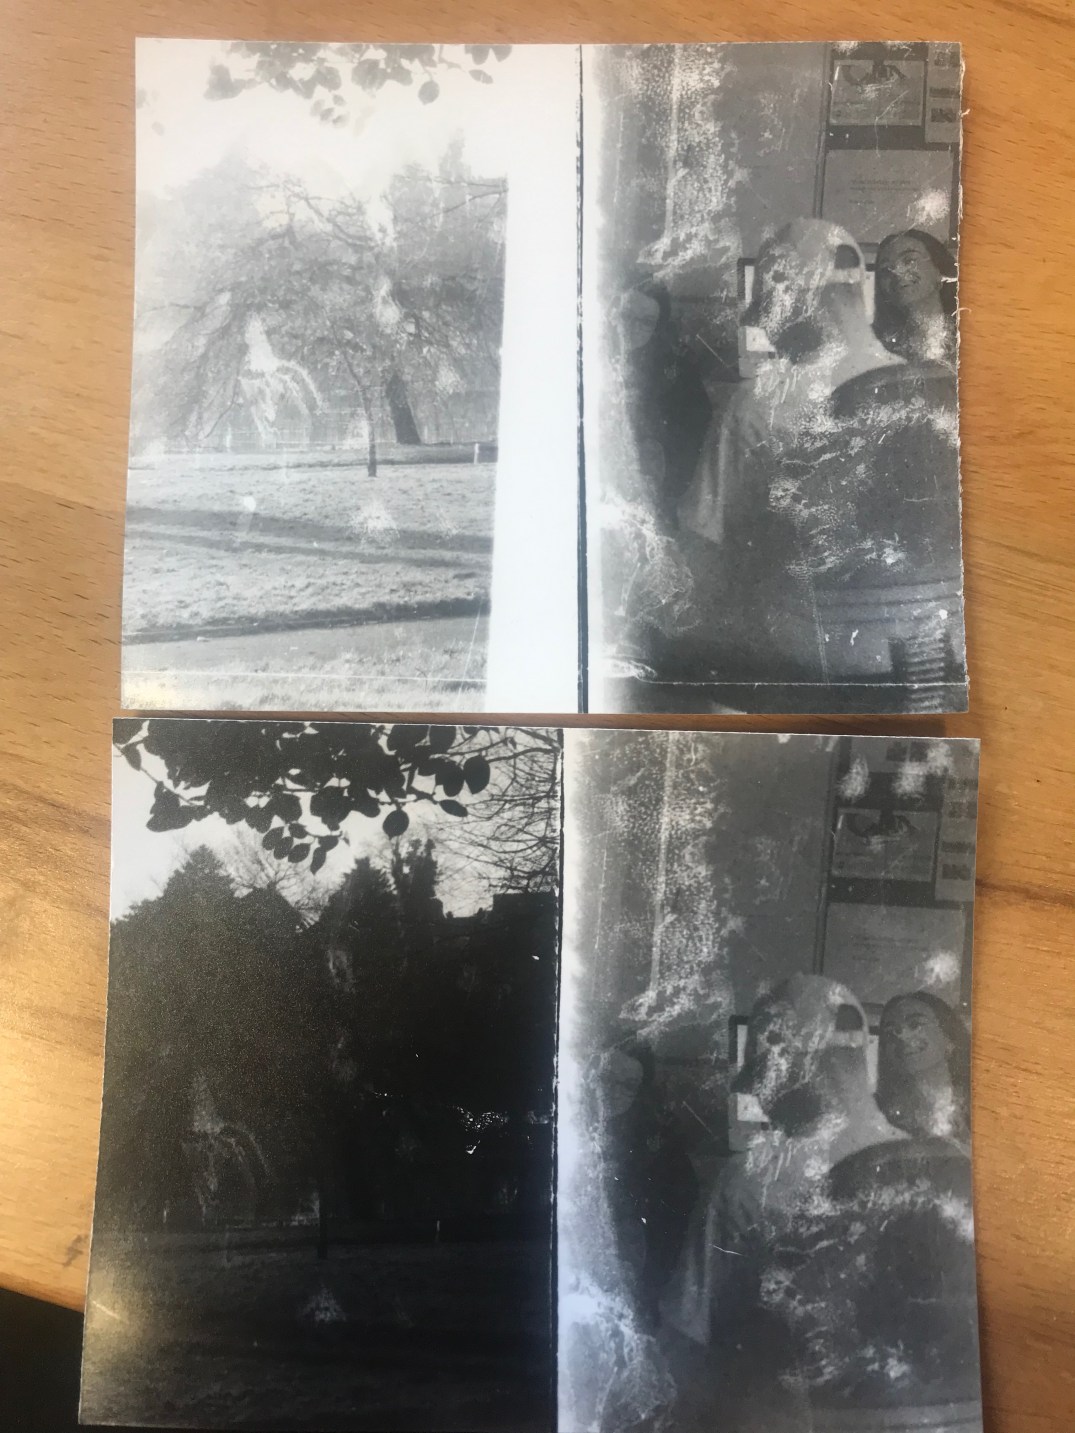
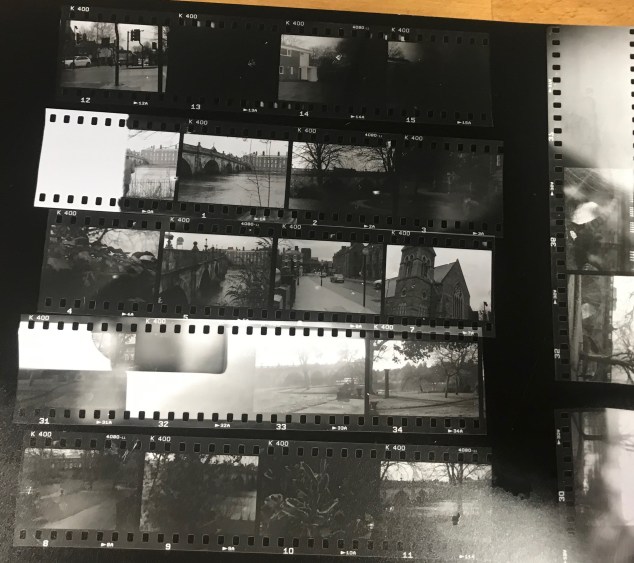
Good lighting Conditions and natural lighting conditions are involved in this contact sheet.

IMG-4322

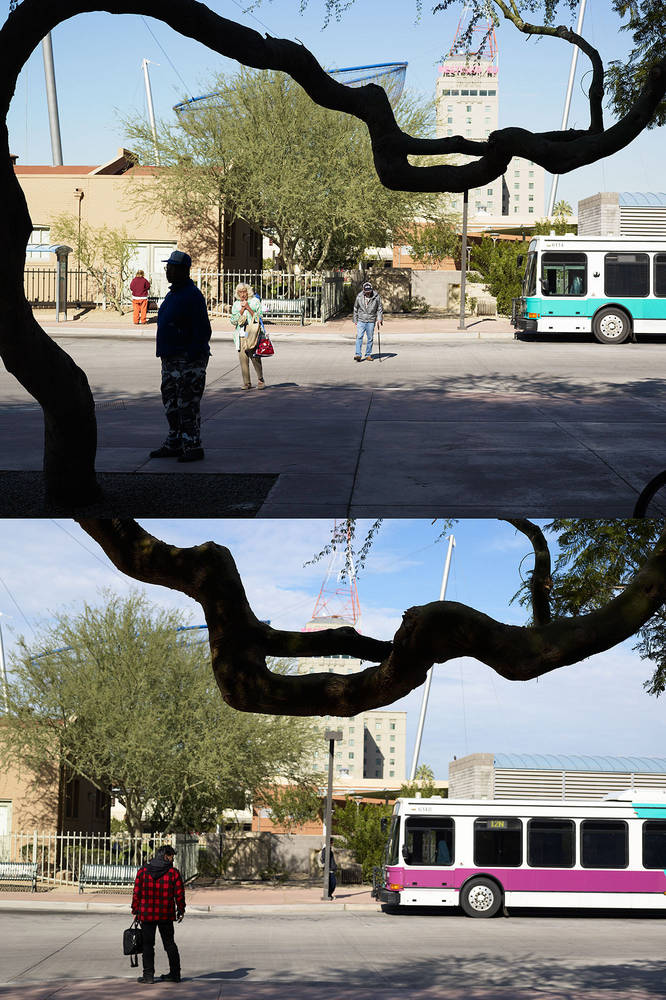
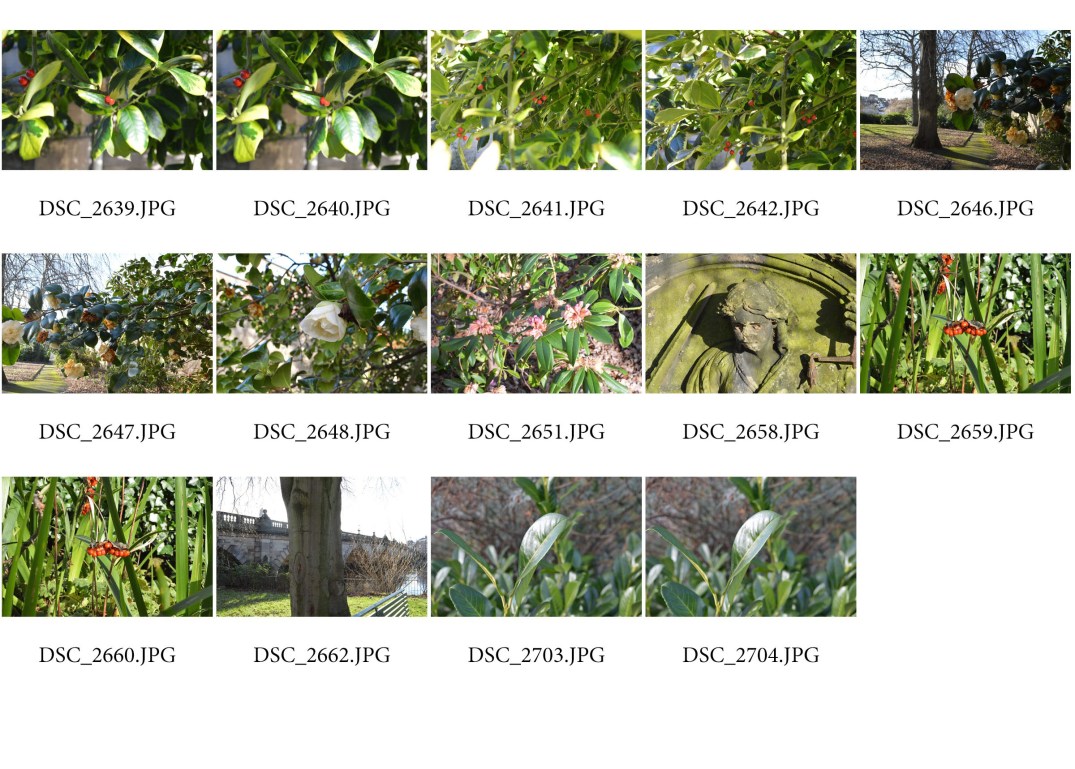
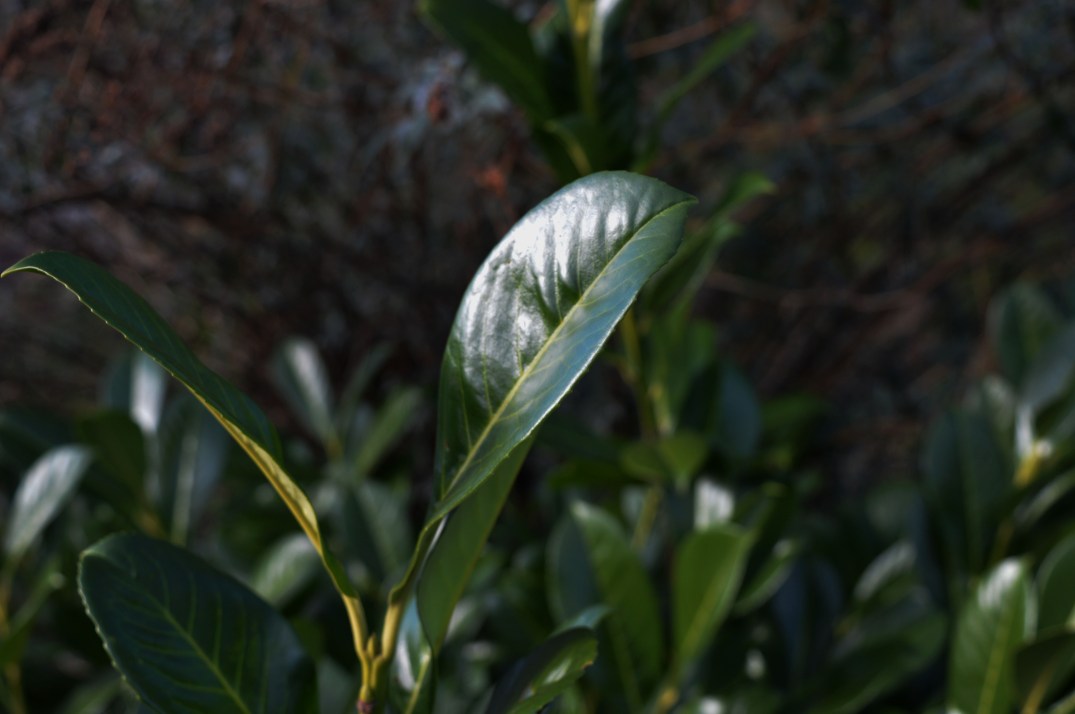
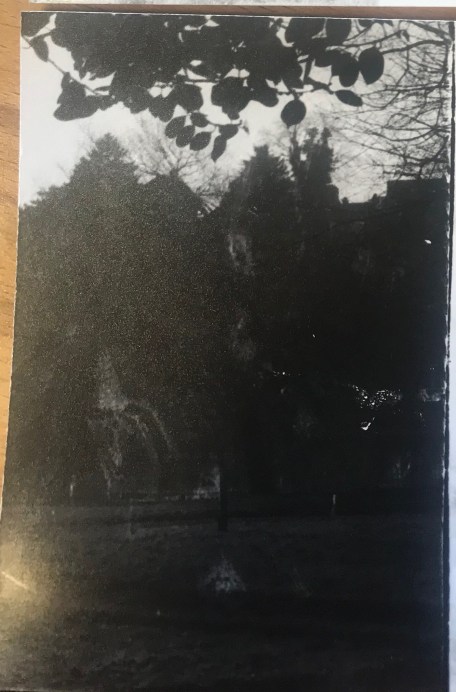
Poor lighting Conditions- This image was taken under a tree, capturing  the shadows made from the leaves above blocking the sun.

IMG-4631

P4

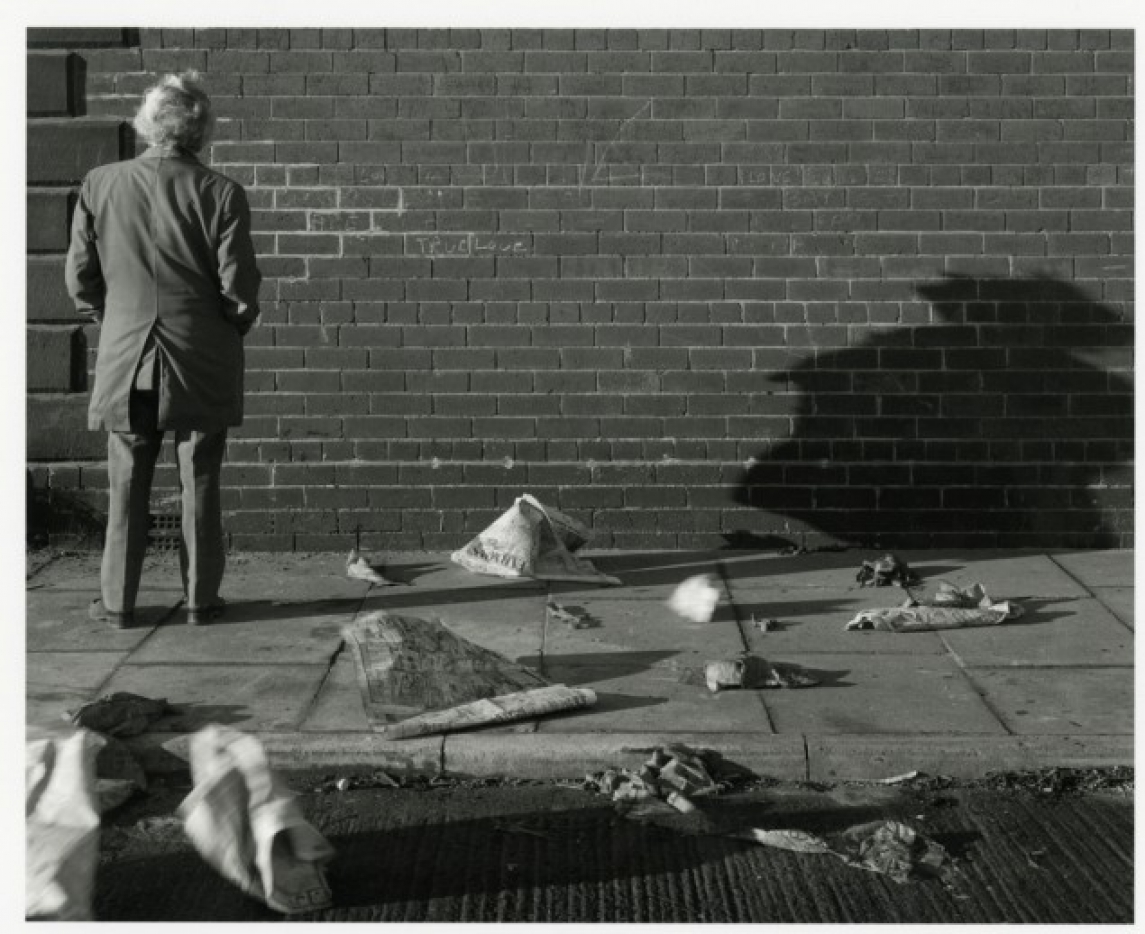
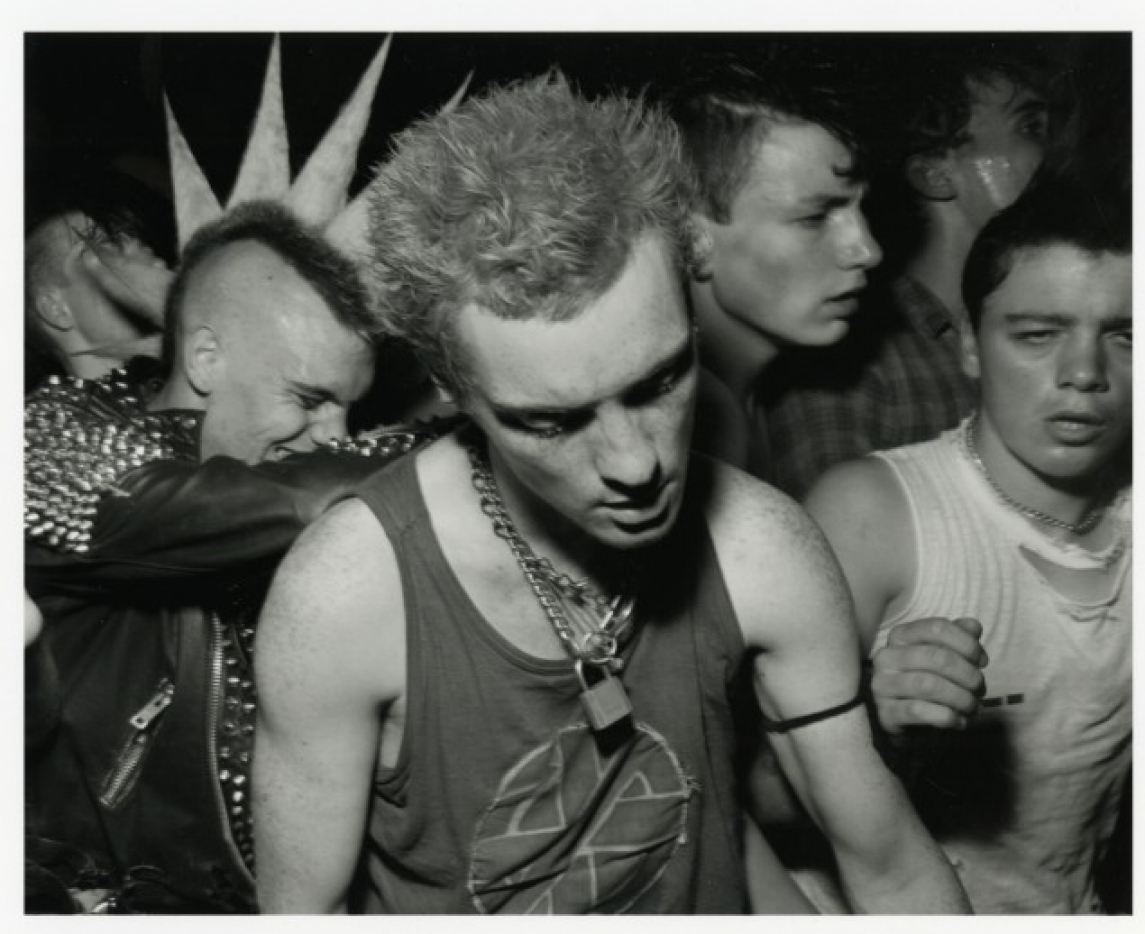
Artificial Light&Directed Light-IMG-4680

P4- P3-M3- Push Processing&Artificial Lighting

Every film has an ISO which is the amount of time it takes to react to the light in order to capture an image. The ISO is also known as the speed rating. Using 400 ISO which i used on my film camera is most suitable for inside places that have darker/poorer lighting  and portraits as sometimes people move which could cause blur.

Taking a photograph in good lighted areas such as in natural daylight and outside i would use the ISO 100. Using a tripod would also help massively with camera shake and capturing any movement pictures as the camera would have a long exposure.

The push processing technique is using a different ISO speed which the camera is originally not used for. Originally in my film camera I had ISO 400 which the photographs were coming out rather underexposed. By pushing the ISO to 800 I also pushed the stop by two, this enables my photographs to be more exposed. Pushing film is when you develop the film for longer to balance out any film that may be under exposed,  any studio photographs that were taken the film had been pushed resulting in none of the images being too under exposed. Pushing film also helps with increasing film grain and lowering the resolution.

Poor lighting conditions- Any interior photography under normal indoor lighting

Floodlit- Photography where the subjects are brightly lit against a dark background- the studio photographs i have taken were floodlit

Action- Daylight photography when capturing movement.


We then went to the studio and did different lighting set ups. Using different objects set up in the light, my film camera after being pushed should’ve captured the objects with the correct exposure. I had one main successful image from the shoot which I used as one of my final images.

The images taken above were taken using 400 ISO on a film camera which was then pushed to 800. I pushed the film by altering the ISO dial to 800, almost tricking the camera as if i’m using an 800 IS0 film. The aperture was 2.8 allowing the photograph to not be underexposed due to the lighting within the studio and the shutter speed was a 60th of a second.

As i used a 400 ISO on a  film camera and wanted to push it to 800 i exposed the film for 9 minutes so that the film had no risk at all of being underexposed.

M3- Studio Lighting

  ‘Rembrandt Lighting’- The Rembrandt lighting setup originated from the dutch painter Rembrandt who used the setup within his work. The lighting set up involves having one main light and a reflector. To achieve the illusion of almost having a triangle under the subjects eye due to the shadows created by the lighting all you have to do is set up the camera directly opposite the subject of interest. The key light should be placed 45 degrees at an angle above the subject and the reflector should be based at eye level on the other side.

‘Split Lighting’- Split lighting simply gives the illusion of one half of the subjects face being lit up whilst the other side is in complete darkness due to the shadow and having no light being reflected onto it. The key light should be 90 degrees from the camera whilst the camera is still directly infront of the subject. No reflector is needed to achieve the split lighting affect as the lights will only need to be shined on one half of the face.

‘Butterfly Lighting’- The butterfly lighting setup is typically used as the ‘selfie lighting’. The light source is placed directly above the camera enabling the light to strictly cut down onto the subject highlighting the high points of the subjects face and making the cheekbones have a slight shadow. This set up usually makes the subjects face look flawless erasing any flaws or ‘eyebags’.


LIGHTING

1st Diagram- Split Lighting

2nd Diagram- Butterfly Lighting

3rd Diagram- Rembrandt Lighting

High Key Lighting-

img_5499

Low Key Lighting-

DSC_6819.JPG

Example of a photographer who uses artificial lighting- Tina Modotti was an Italian photographer who’s work was mostly known for her skilful use of composition and shadow. Modotti’s photographs are usually taken in black and white resulting in the images to have naturally high contrast, she uses studio lighting to create the light and shadows that flatter the face. The photographer has used a shallow depth of field in the portraits and has used the split lighting effect on one half of the face.

Image result for tina modotti

P2-Diptychs

What is a Diptych? Diptychs are a set of two photos you can use to tell a story and emphasise contrast. The word ‘Diptych’ originally comes from Ancient Greek. Some photographs have no correlation denotation wise and have a more of a metaphorical meaning.

John Maclean- A well known photographer who uses diptychs is Maclean. He takes photographs of subjects from completely different perspectives and in most of the cases the images match up. The meaning behind taking pictures of the game subject but from different viewpoints is to highlight that the world can be seen with two eyes rather than one.Image result for john maclean photography diptychs

Setting– This place makes you feel relaxed and gives you the ultimate peace of mind making you feel at ease. Strolling through with the fresh breeze of air gives you the elimination of any stresses and worries that may be on your mind. You hear the songs of nature and the river flowing beside you.

Plan for Diptych shoot-

  • Shooting one specific angle from the river- peace
  • Trees are symbolic of immortality and strength.
  • The Shrewsbury Market
  • Photographs of ordinary people, street photography; gives the photographs a realistic perspective from different angles.

Process of creating Diptychs-

The process of creating a diptych is simply taking a photograph with good composition and making sure the image takes only half of the frame. Then when it comes to developing the negatives, the diptych needs to be cut and stitched together.

IMG-4631

M2 (D) Enlarging the Photograph

The process of enlarging a negative-

  1. Choose which negative that needs to be enlarged
  2. Place the selected negative in the film holder and use the canned air to remove the lint
  3. Place firm older in enlarger carrier slot
  4. Set aperture by turning it to the full light and then turning it back 2 or 3 clicks
  5. Focus the enlarger and look for the grain of film by using a focus tool on photo paper
  6. Set enlarger easel to give white border
  7. Turn off the enlarger
  8. Press timer to expose film for time determined by test strip
  9. Develop the photo and then put the photographs through the dryer.

Health and Safety-

  • Avoid contact with skin and eyes
  • Wash hands after handling and using the chemicals
  • Use tongs to transfer photos between trays
  • Use red safe light
  • Light indicator outside darkroom
  • Don’t eat or drink in the darkroom

My first testing strip didn’t go too well as the enlarger wasn’t set at the correct aperture. However, when realising this I changed the aperture to the correct number and my second test strip worked a lot better resulting in my image being exposed correctly and more in focus for 1.4 seconds.

The darker and over exposed photograph enlargement of the church was exposed for 2 seconds which was clearly too dark. The last image was the most successful done for 1.4 seconds as the detail and colour of the church is very clear and in focus.

Examples of Film Photographers-

Chris Killip- Chris Killip is a Manx photographer who is mostly known for his black and white photographs of people and places. Killip worked at Harvard University as a professur of Visual and Environmental studies.

Chris Killip, ‘People queuing outside of bakery during flour shortage (‘the bread strike’)’ 1977, printed 2010

This photograph is of people queuing outside of a bakery during flour shortage (‘the bread strike’). This image was taken in 1977 and was photographed using a film camera. The image is maximalist as there is a lot going on in the photograph, I would consider this to be the decisive moment as it’s capturing a very important specific moment. The fact that the image is in black and white also gives it a very raw and realistic viewpoint on the image, enabling you as the viewer to find your own focus point instead of any colours drawing you in to a specific point instead. Image result for chris killip


The photograph above is called ‘Le mur du Grand Amour, Centre-Ville gateshead, Tyneside’ and was taken in 1975. The shadow on the wall is rather captivating as you wonder what the shadow is of. It can’t possibly be of the man as he is stood so far away.

‘Punks, Tyneside’.- This photograph is intriguing to look at as there is a lot of things happening within the photograph, also known as a maximalist photo. I like the composition of this image as each persons facial expression is clearly shown in the image. I believe Kilips’ intention was to capture the decisive moment.

Image result for chris killip

‘Youth on Wall, 1976’- The composition of this image is enticing as the angle of the camera is capturing the young boys emotion but at the same time is hiding is identity. The wall that the boy is sat on is almost framing him in the sense that he is the main focus point of the image. The subject appears to be almost trapped, almost like he’s trying to hide or make himself unseen and small.

Charlie Cummings–  Charlie Cummings is a contemporary film photographer and is based in London. His most award winning photograph was that of Wiz Khalifa. The “composition, pose and single eye staring directly into the lens all add up to create this beautiful capture”.

This photograph of J Hus is very contemporary as he is a very current music artist. The contrast of the subject and the his clothing is very eye capturing and makes the subject a very bold focus point.

The lighting of this image makes the photograph very unique. The subject being fully in the light makes him the central focus point in the image. The stance of which the subject is stood also adds to the effect of the image.

Wonda Wulz- Wulz was an italian experimental photographer who’s most famous work was a portrait emerged with a cat. She was born in July 1903 and died April 1984.

Image result for wanda wulz

This piece of photography was created by printing two negatives, one of her face and one of a cat on a single sheet of photographic paper. This is a very original piece of work which many other photographers wouldn’t be able to produce. It’s very abstract and is a very interesting piece of work to look at. Wulz inspires me to be more original with my work and ‘think outside of the box’ for new ideas.

Image result for wanda wulz

Image result for wanda wulz

I like this photograph as it gives off a very sinister vibe, the portraits are so well blended into the photographs of the cat and the way the background blends into the image adds to the tensity of the photograph overall.

Image result for wanda wulz

Rosie Matheson- Matheson is a 22 year old portrait photographer and film maker from the UK. Her most famous work is a collection of film photographs called ‘Boys’. The project was started in late 2015 and the aim was for men to express themselves physically and emotionally in their everyday lives.Image result for rosie mathesonImage result for rosie mathesonRelated imageImage result for rosie matheson


M1&M2- Film Photography

The process of setting up the Film Camera and loading the film-

On a film camera, you can’t alter the ISO setting as this is already within the film used within the camera. The ISO I used was 400 as the weather wasn’t very good as it was raining and the sunlight outside was minimum. To load the film, you would use the advanced lever to turn and open the actual camera and then slot the film inside. You would then wind the film and thread it into the right hand side. You would then wind the film on by using the film advanced lever and close the opening of the camera.

The process of the Darkroom-

  • In complete darkness, using the dark bag open the exposed film canister and remove one end and use the can opener if necessary.
  • Trim the end of the film for loading and load the film onto the reel. Try and avoid touching the actual photographs and try and touch only the film edges.
  • Slide the loaded reel onto inner tube
  • Slide the second reel (empty or loaded) to hold in place
  • Place the reels and funnel in developer tank- now that it’s light safe and the lid and remove from the dark bag.
  • Then using 6ml of Rodenol, I put it in a container of water ready to put into the developer tank. This is left in there for roughly 20mins.
  • After then withdrawing the developer tank of the Rodenol it was then time to stop, fix and clean the negative separately in the developing tank.
  • After then washing the negatives inside of water, it can then be exposed to the light outside of the container.

Putting the negatives onto a contact sheet-

  1. Arrange the negatives on a photographic piece of paper after finding out the correct time from doing the testing strip. (This being 18 seconds under the enlarger).
  2. Turn on the timer for 18 seconds and then develop the entire contact sheet using the develop, stop, fix and clean trays in the darkroom.


P1

Depth of Field-

Deep Depth of Field- To capture these images I used ISO 400 as the natural sunlight was enough to make the picture well exposed when the light hits the sensor. I used the manual mode to alter the exposure triangle components, this including the shutter speed and aperture. The shutter speed was fast as there is no motion or blurred effect in any of the photographs.

deep depth of field.jpg

Shallow Depth of Field-

shallow-depth-of-field.jpg

The ‘Shutter Speed’ is the length of time the camera shutter is open for, exposing light into the camera sensor. When a camera fires, the shutter opens and exposes light to the camera sensor to the light that has passed through the lens. After the sponsor is done collecting the light, the shutter closes immediately stopping anymore light from hitting the sensor. The Shutter speed is measured in fractions of a second. By using long shutter speed, it results in the camera exposing the sensor for a long significant amount of time. This can sometimes result in ‘motion blur’ which is when something is in motion and creates a blurred effect. However, slow shutter speed does the opposite and acts as a freeze motion.

The shutter speed can also be in relation to the exposure of an image. Long shutter speed creates more brightness within the photograph whereas short shutter speed allows less light to hit the sensor of the camera causing a more darker approach to the image. The ‘shutter speed priority’ and ‘manual’ buttons on a camera allow an individual to personally set the rate of the shutter speed for a photograph.

Examples of long shutter speed- Photographs of animals in motion or a river. The longer the shutter is open for, the more light enabled to pick up specific details of an image.

Short shutter speed- Photographs of landscapes, the whole image would be more likely in focus.

Slow Shutter Speed-

slow shutter speed

Fast Shutter Speed-

These are the most successful images that I had taken which I then edited in Photoshop. I adjusted the ‘Levels’ on all 3 images  and changed the brightness and contrast to make the images look more clear and sharp.

DSC_2694 copyDSC_2704 copyDSC_2684 copy

Aperture Priority-

The Aperture of a camera is how wide the shutter opens exposing light into the sensor, the Shutter speed is the time in seconds open for. The ISO of a camera is in relation to the light sensitivity. The Aperture, Shutter Speed and ISO are all known together as the ‘Exposure Triangle’.

img_1403

P5-Cyanotypes

The Cyanotype process was originally developed by John Frederick Herschel. Herschel was originally a astronomer just trying to take simple notes when he came across this process. Anna Atkins was the first person to ever put this process to use in 1843. The Cyanotypes produced were featured in a book called ‘British Algae: Cyanotype impressions’. The book took 10 years to complete capturing British nature.

jh_ladywithharp-b

The Cyanotype Process-

What is needed-

  • Two glass beakers
  • Paint brush to apply the chemicals over the paper
  • Amber bottle which stores the chemicals
  • Timer
  • thermometer
  • Daylight in order to expose the paper
  • Watercolour paper
  • digital objective
  • Clear glass bigger than the negative
  • tray
  • rubber gloves for safety

The Process-

  1. Mix the chemicals – 4 grams Potassium Ferricyanide, 10 grams Ferric Ammonium Citrate
  2. Then mix 50ml water to each chemical and mix until the particles dissolve
  3. Mix both chemicals equally
  4. Then prepare the canvas by applying an even coat of the chemical over the top and letting it dry as it will go darker.
  5. Then expose the picture by putting it under sunlight
  6. The last step is washing the canvas until it’s exposed.

My Attempt at doing the Cyanotype Process-

  1. Firstly, I needed my negative image so I used a photograph I had previously taken in Rome and imported it onto photoshop so I could digitally change it to a negative. To do this I clicked onto ‘image’ and chose ‘adjustments’ then ‘invert’.
  2. I then printed the image onto tracing paper and place it onto the canvas which should be covered in the appropriate chemicals.

    3. The tracing paper on the canvas was then placed into the exposure unit which has UV light inside. The image is inside the exposure unit for roughly 6 minutes.

    4. After the image has finished exposing in the exposure unit, the photograph is then washed making sure all of the chemical has come off ( the chemical being a green colour on the photograph)

    5. The image was then left to dry.

    In my opinion, my photograph made from the Cyanotype process was successful as the detail is clearly shown. You can also see a clear contrast in the image of where the lighter and darker places would’ve been in the original image.

    Health and Safety-

    • The area used for making these prints needs to be clean and tidy to ensure that there are no tripping or falling over hazards.
    • Make sure that you wear gloves when covering the canvas in the chemicals to protect your hands.